Getting Started with Bugster CLI: From Installation to Your First AI-Powered Test
Getting Started with Bugster CLI: From Installation to Your First AI-Powered Test
Bugster is an AI-powered testing agent that simulates real user interactions in a browser, providing insights directly in your pull requests. In this comprehensive guide, we'll walk you through the entire process from installation to running your first automated test.
What You'll Learn
By the end of this tutorial, you'll know how to:
- Install Bugster CLI on your system
- Set up your project configuration
- Generate AI-powered test cases for your Next.js application
- Run tests locally and analyze results
Prerequisites
- Python 3.10 or higher (our installer can handle this automatically)
- Node.js 18+ (for Next.js applications)
- A Next.js project to test (we'll use a sample e-commerce app in this guide)
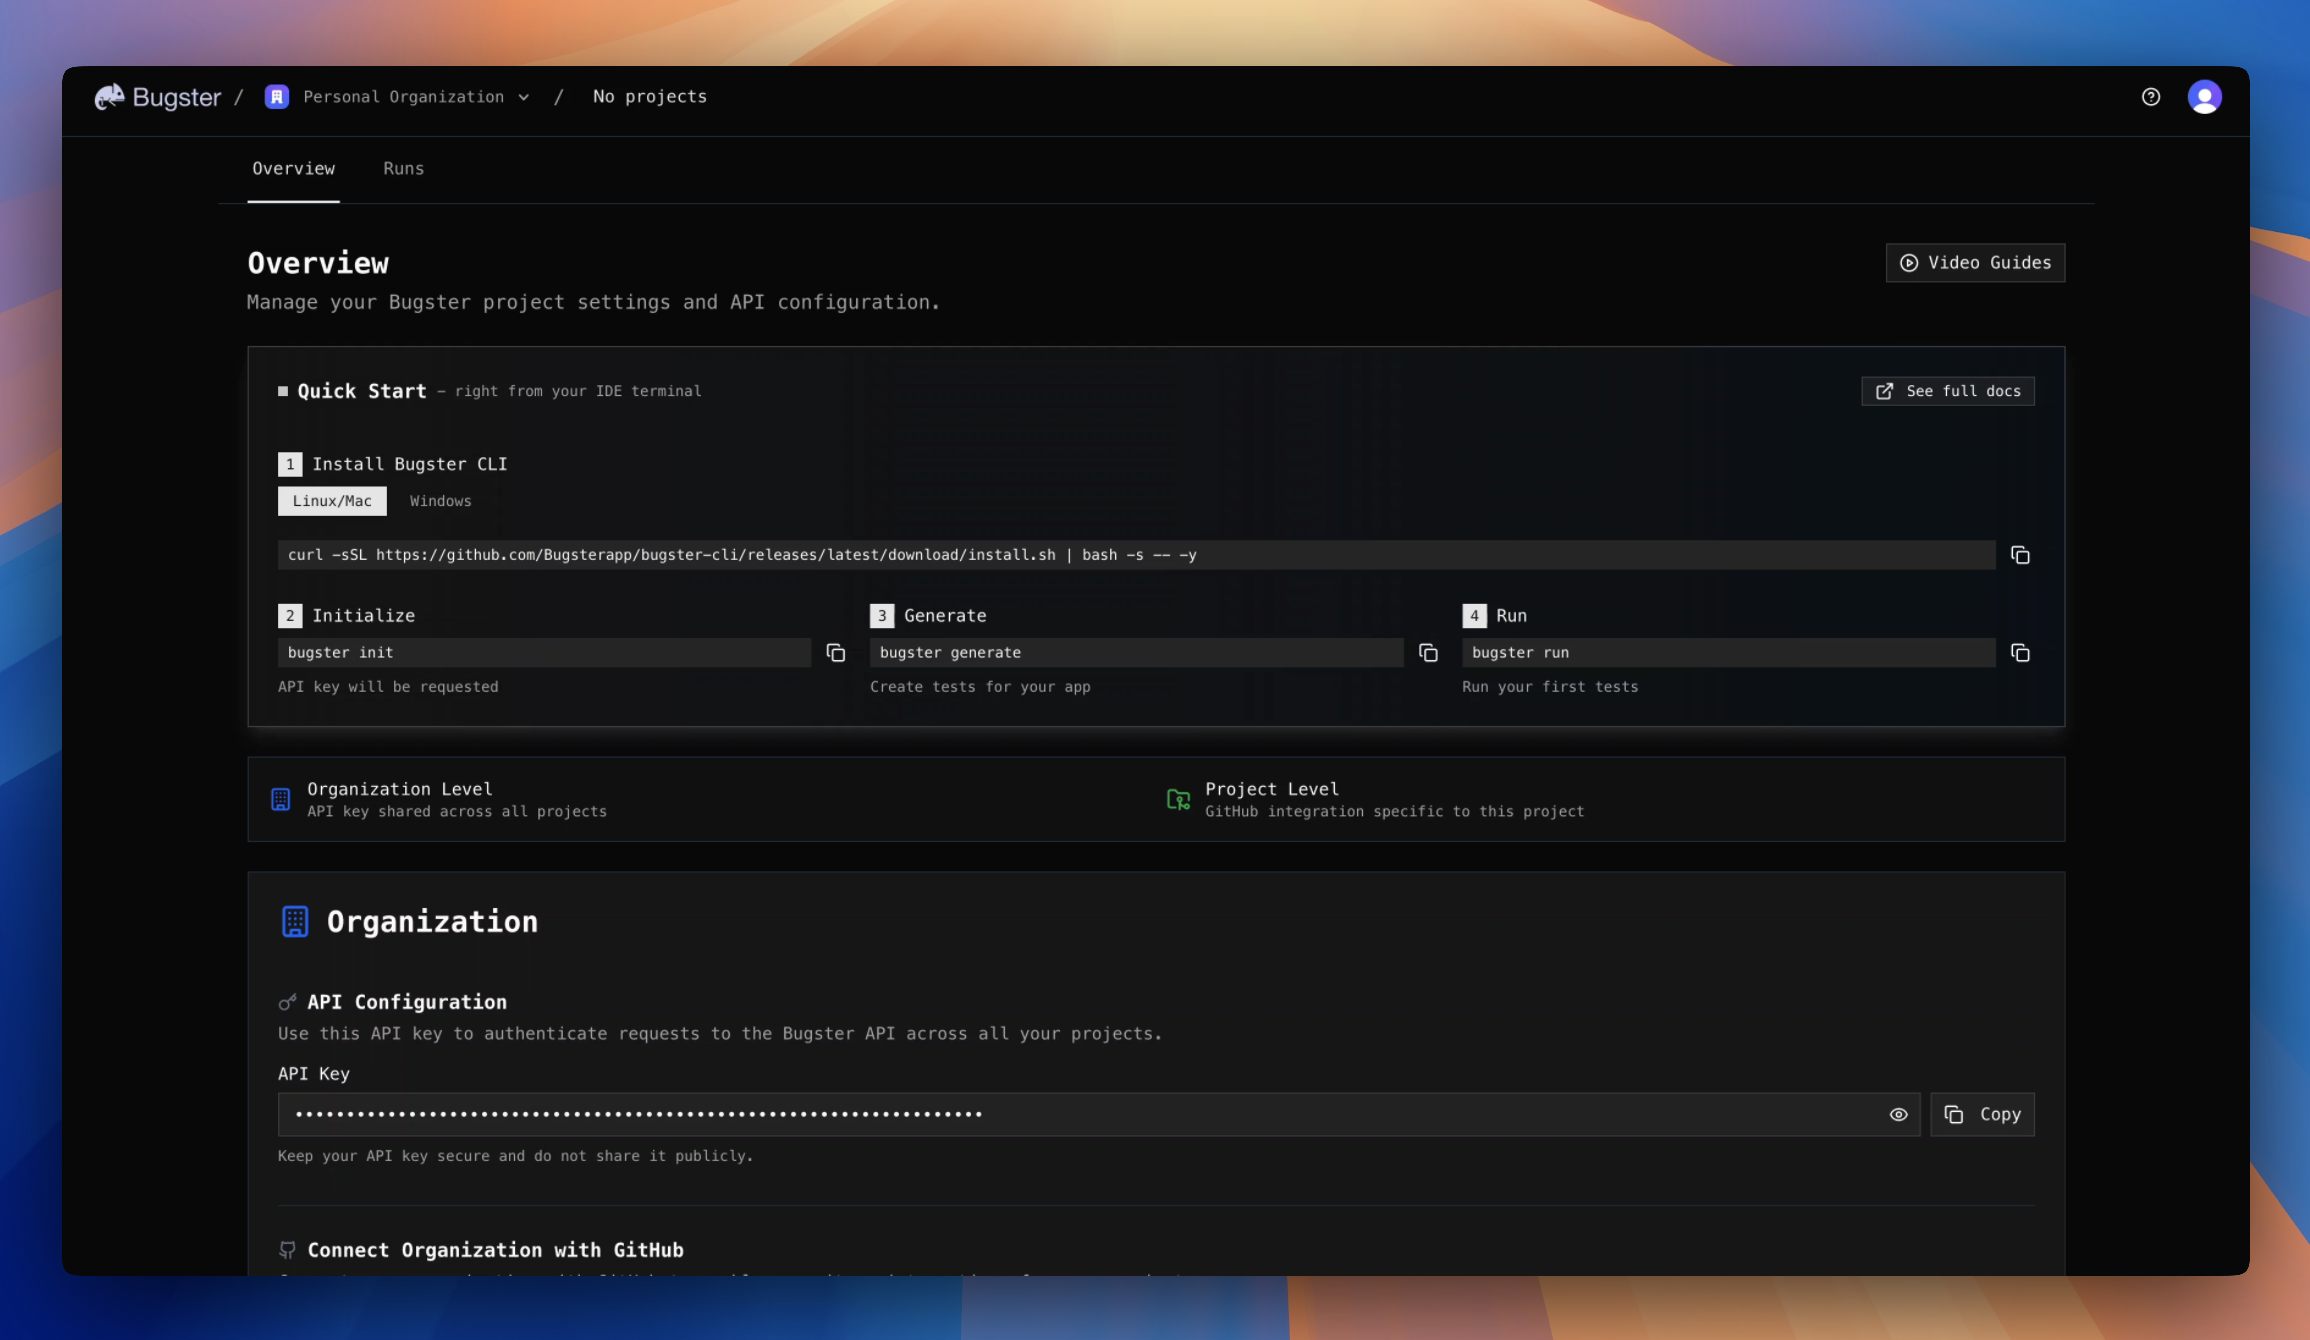
Step 1: Installing Bugster CLI
Bugster CLI offers automated installation scripts that will check for dependencies and install them if needed.
macOS/Linux Installation
Open your terminal and run:
curl -sSL https://github.com/Bugsterapp/bugster-cli/releases/latest/download/install.sh | bash -s -- -y
Windows Installation
- Download the installer from:
https://github.com/Bugsterapp/bugster-cli/releases/latest/download/install.bat - Right-click the downloaded file and select "Run as administrator"
The installer will automatically:
- Check for Python 3.10+ and install it if missing
- Check for Node.js 18+ and install it if missing
- Download and install the Bugster CLI binary
- Add Bugster to your system PATH
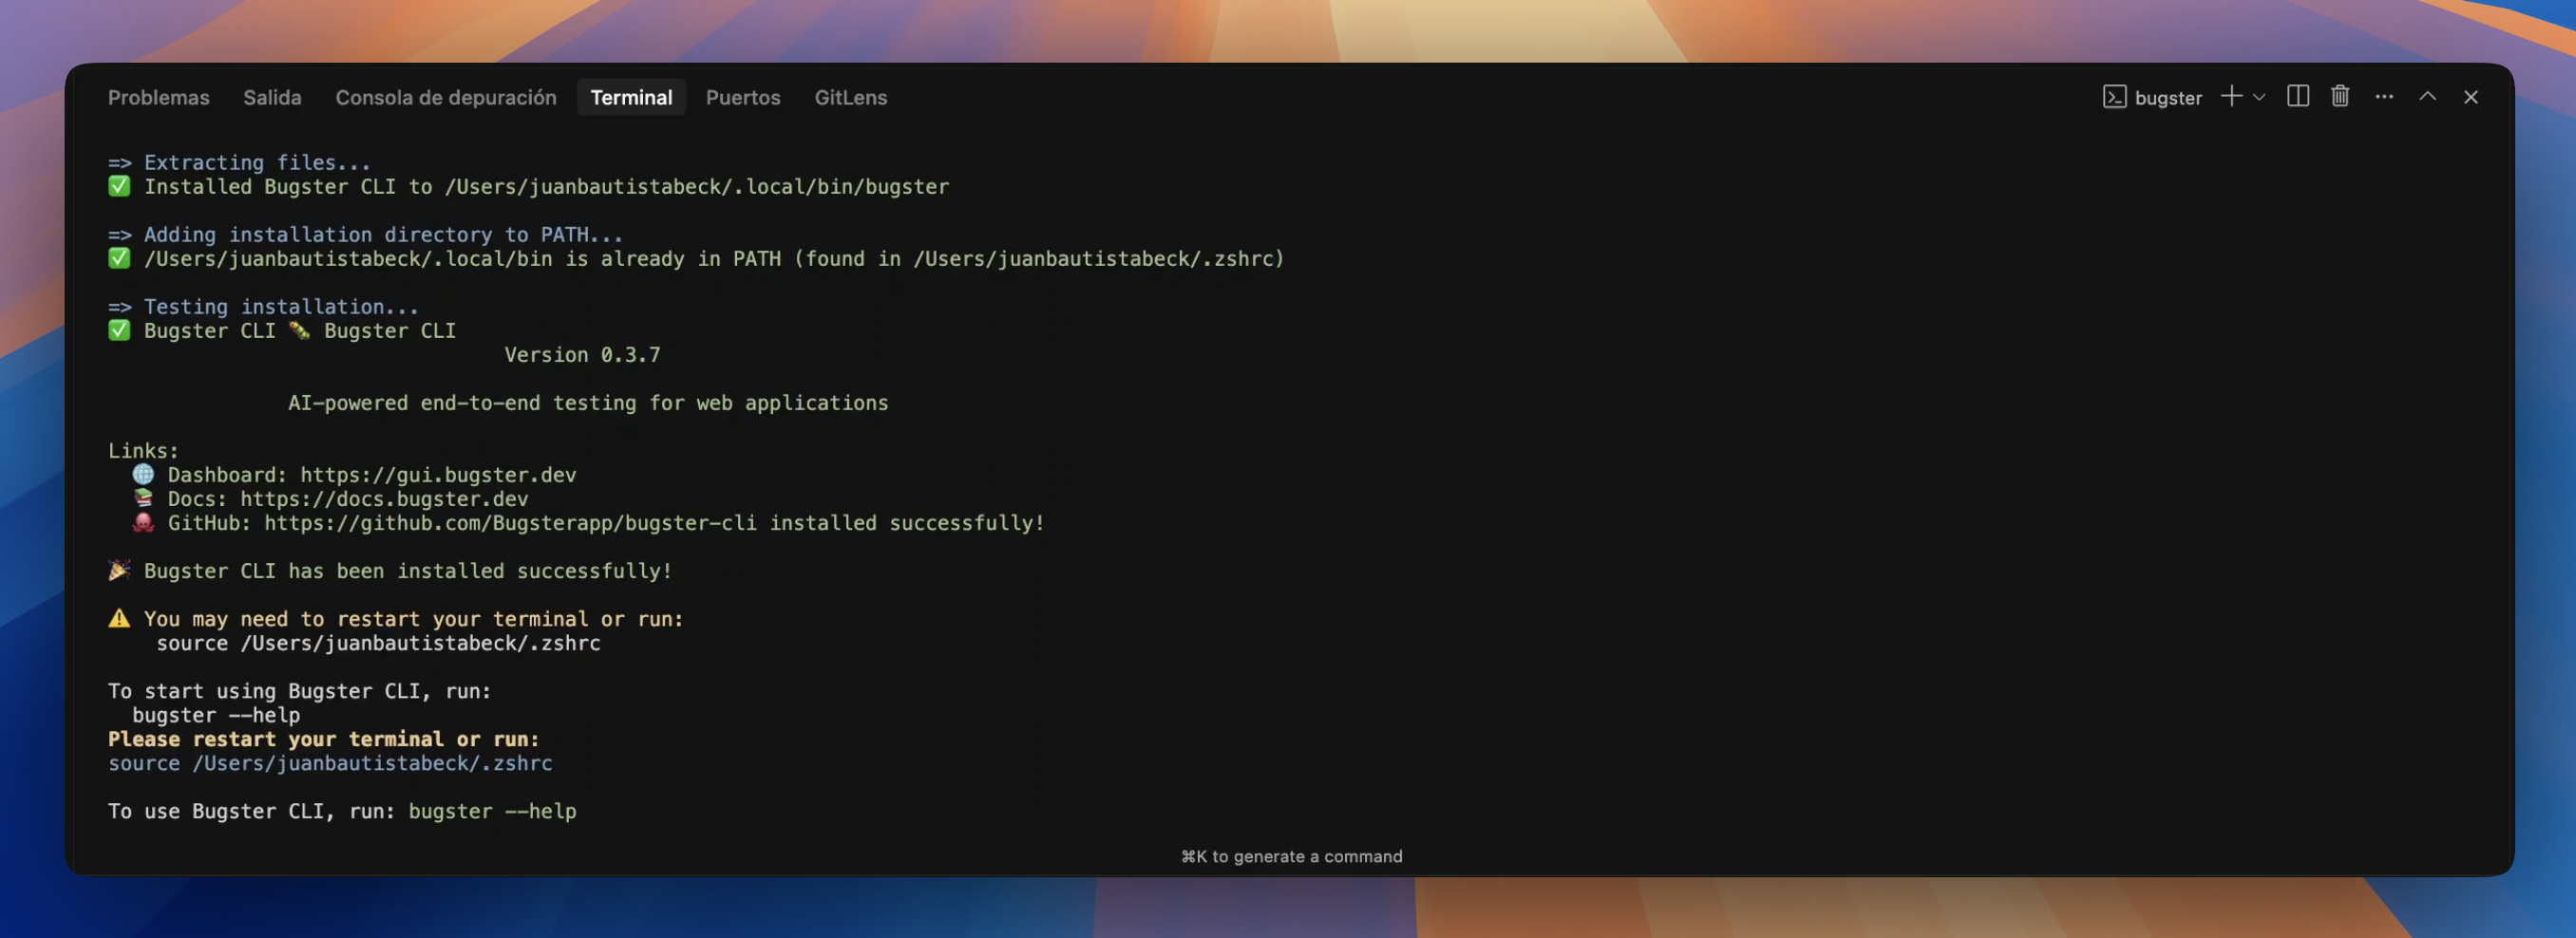
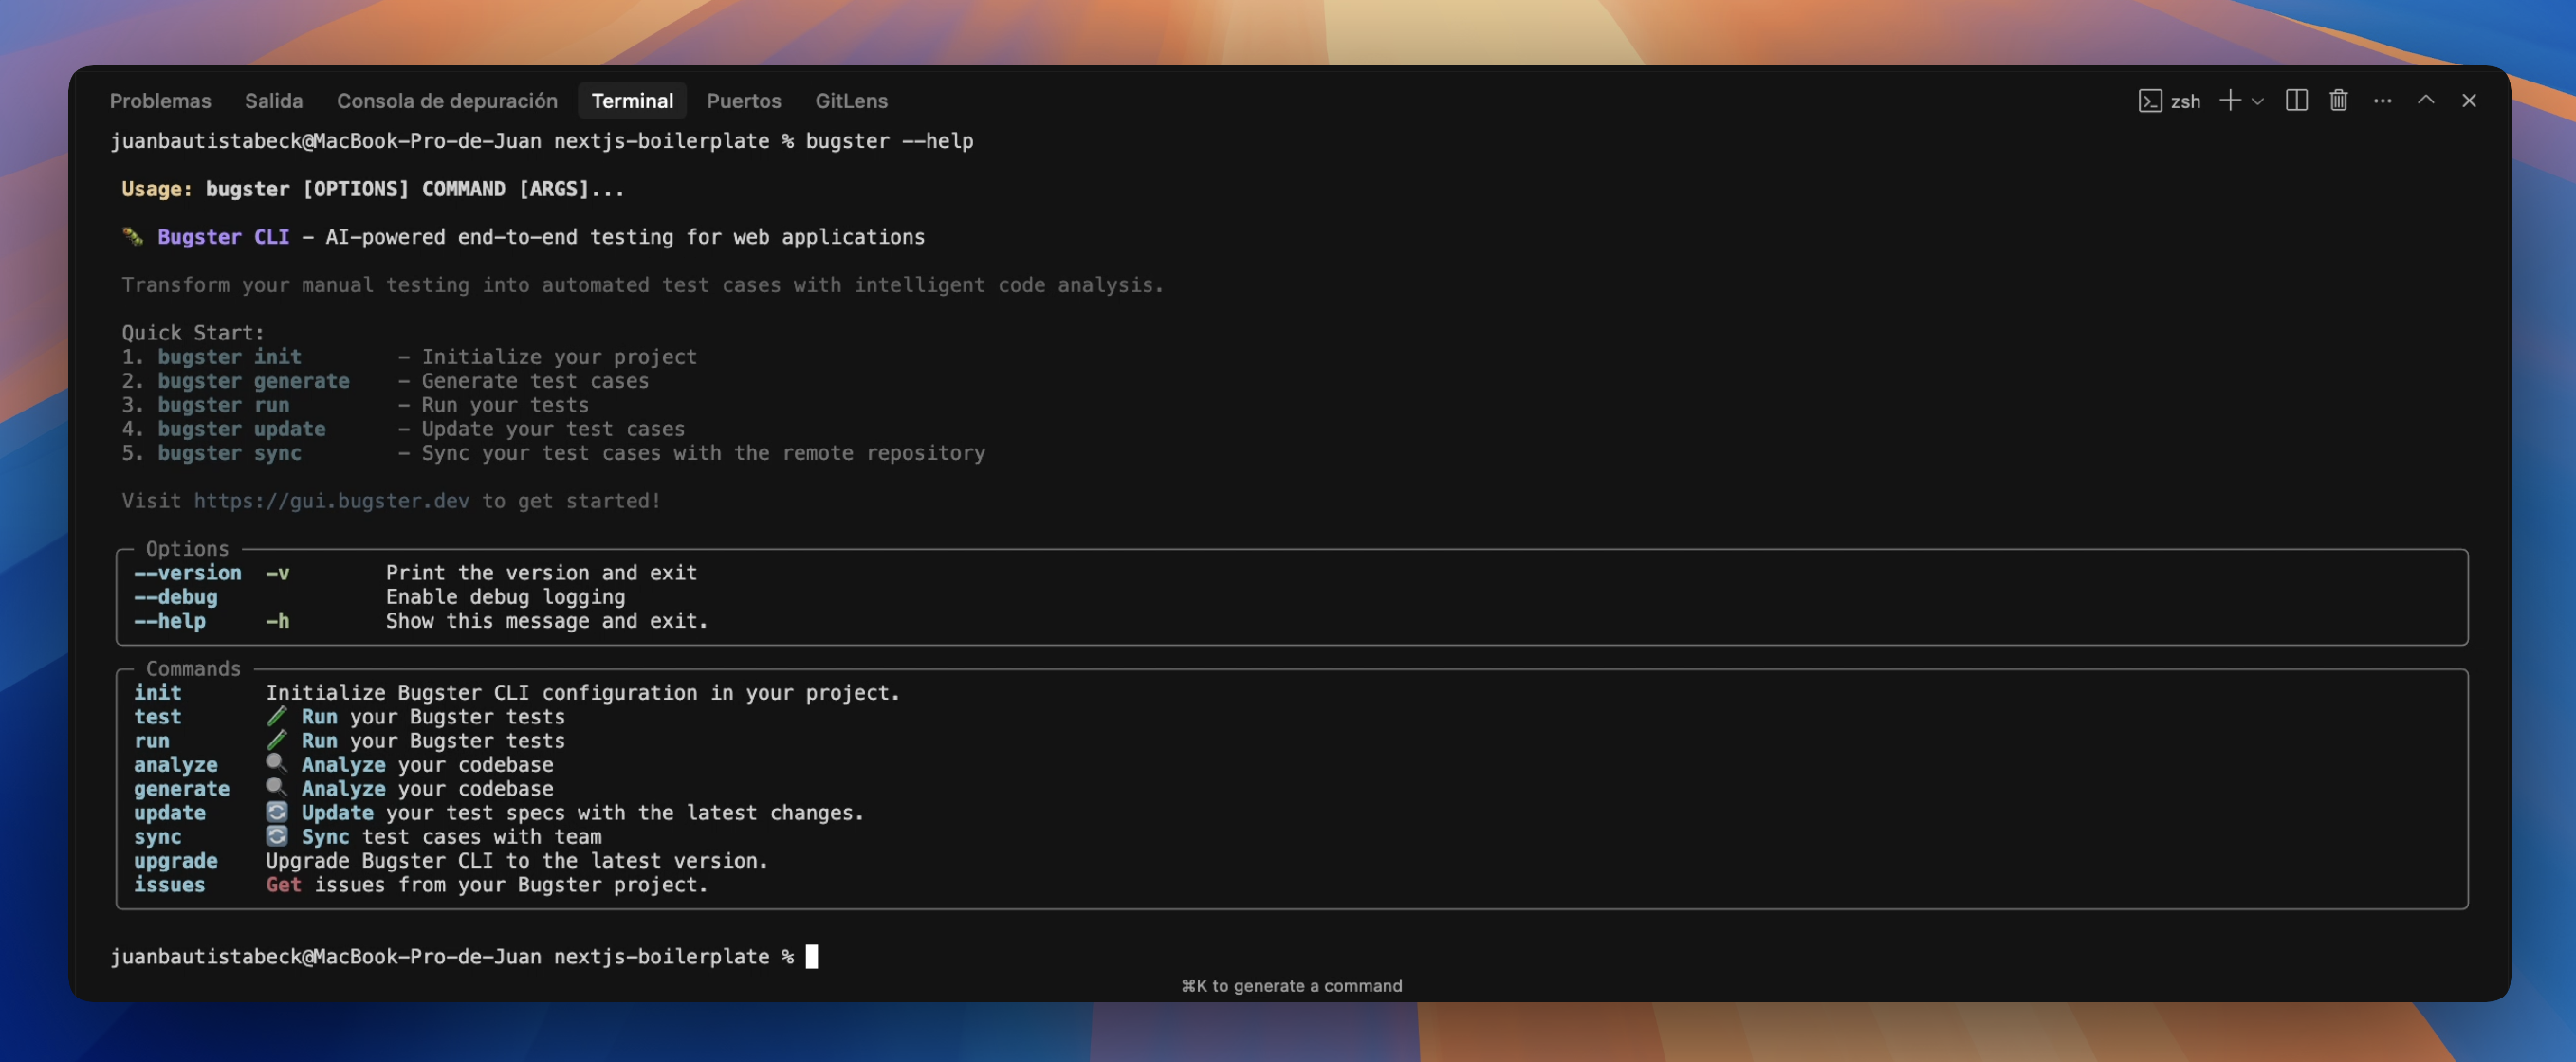
Verify Installation
After installation, verify Bugster CLI is working:
bugster --help
You should see the Bugster CLI help menu with available commands.
Step 2: Project Setup with bugster init
Navigate to your Next.js project directory and initialize Bugster:
cd your-nextjs-project
bugster init
Authentication Setup
The CLI will first check if you're authenticated. If not, you'll see:
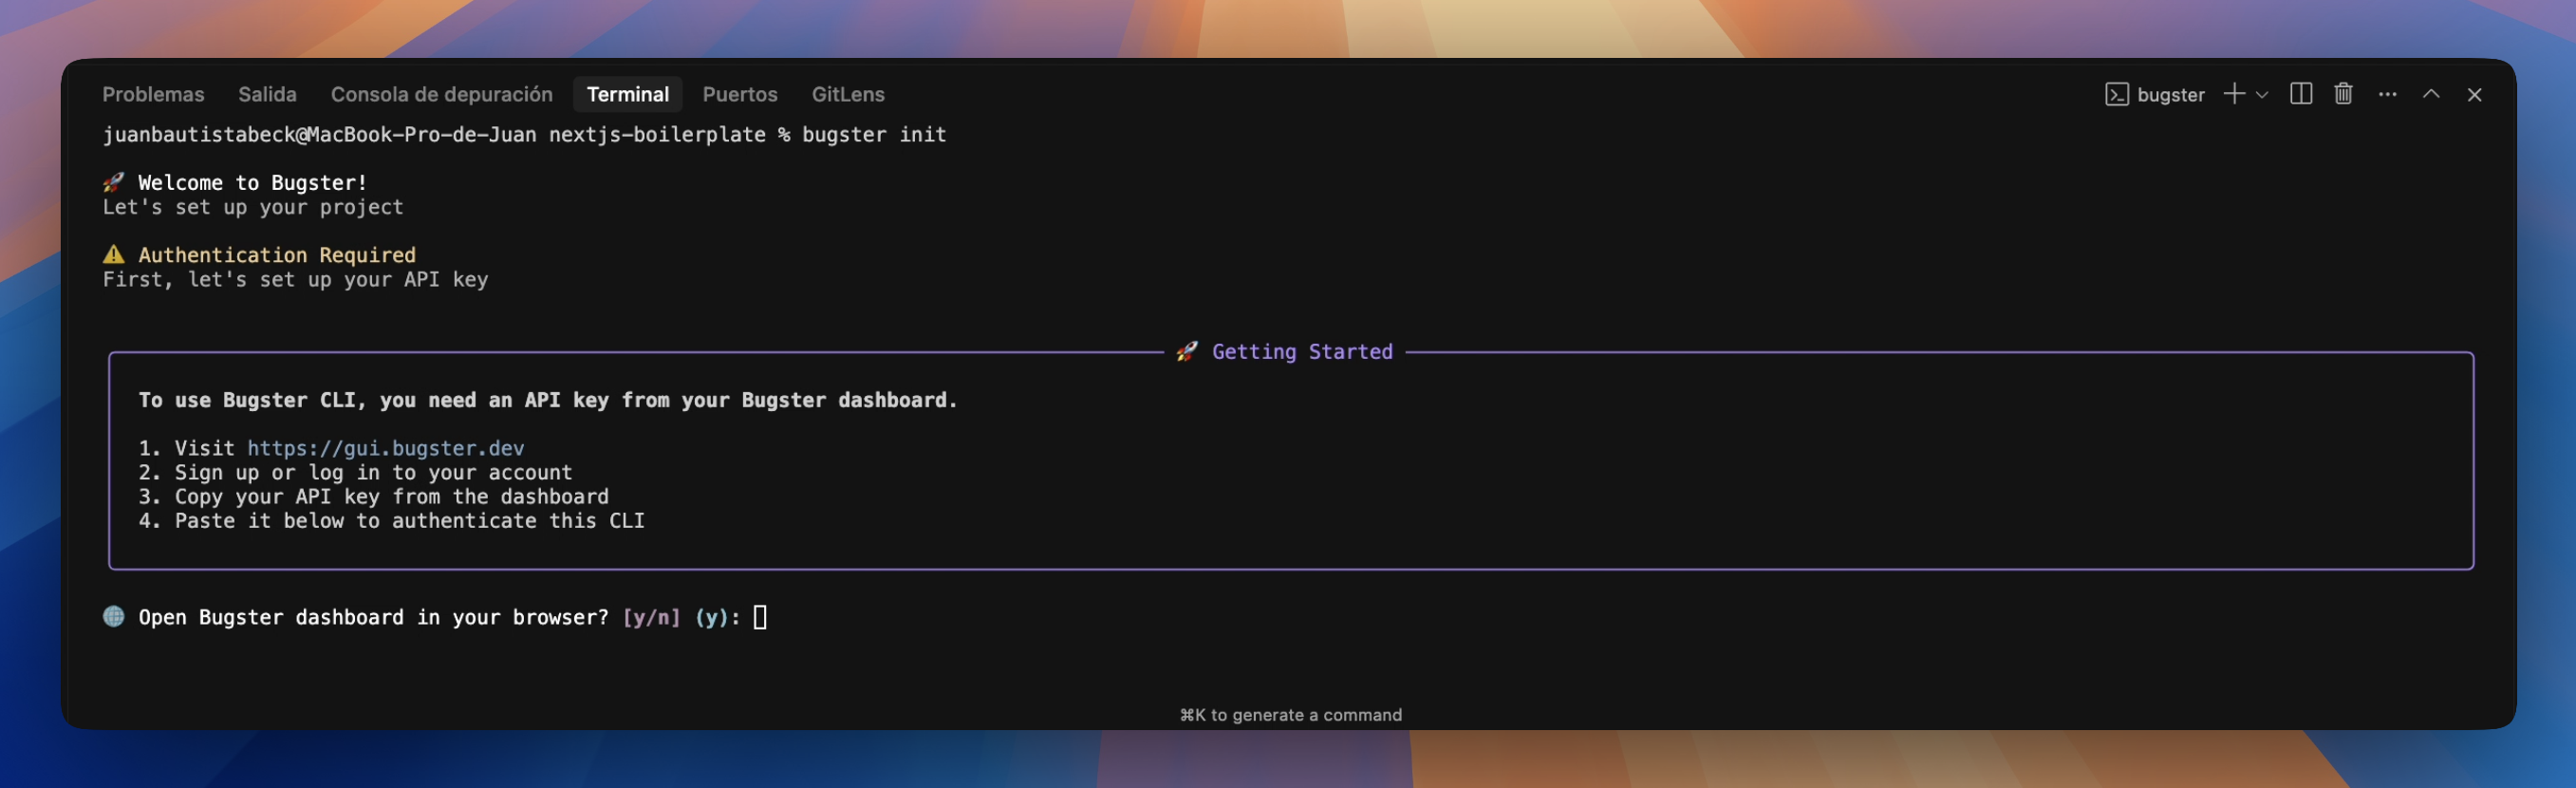
You'll be prompted to:
- Open the Bugster dashboard in your browser
- Sign up or log in at
https://gui.bugster.dev/sign-up - Copy your API key from the dashboard
- Paste your API key when prompted
Project Configuration
Once authenticated, you'll configure your project:
Project Details
📝 Project Setup
Let's configure your project details

🏷️  Project name (your-project-name): Test Demo
Application URL
🆔 Project ID: myecommerceapp-1750688523
🌐 Application URL (http://localhost:3000): http://localhost:3000
Credentials Setup
🔐 Authentication Setup
Configure login credentials for your application

➕ Would you like to add custom login credentials? (y/n) (y): y
👤 Credential name (admin): user
📧 Username/Email: test@example.com
🔒 Password: test1234
✓ Credential added successfully

➕ Add another credential? (y/n) (n): n
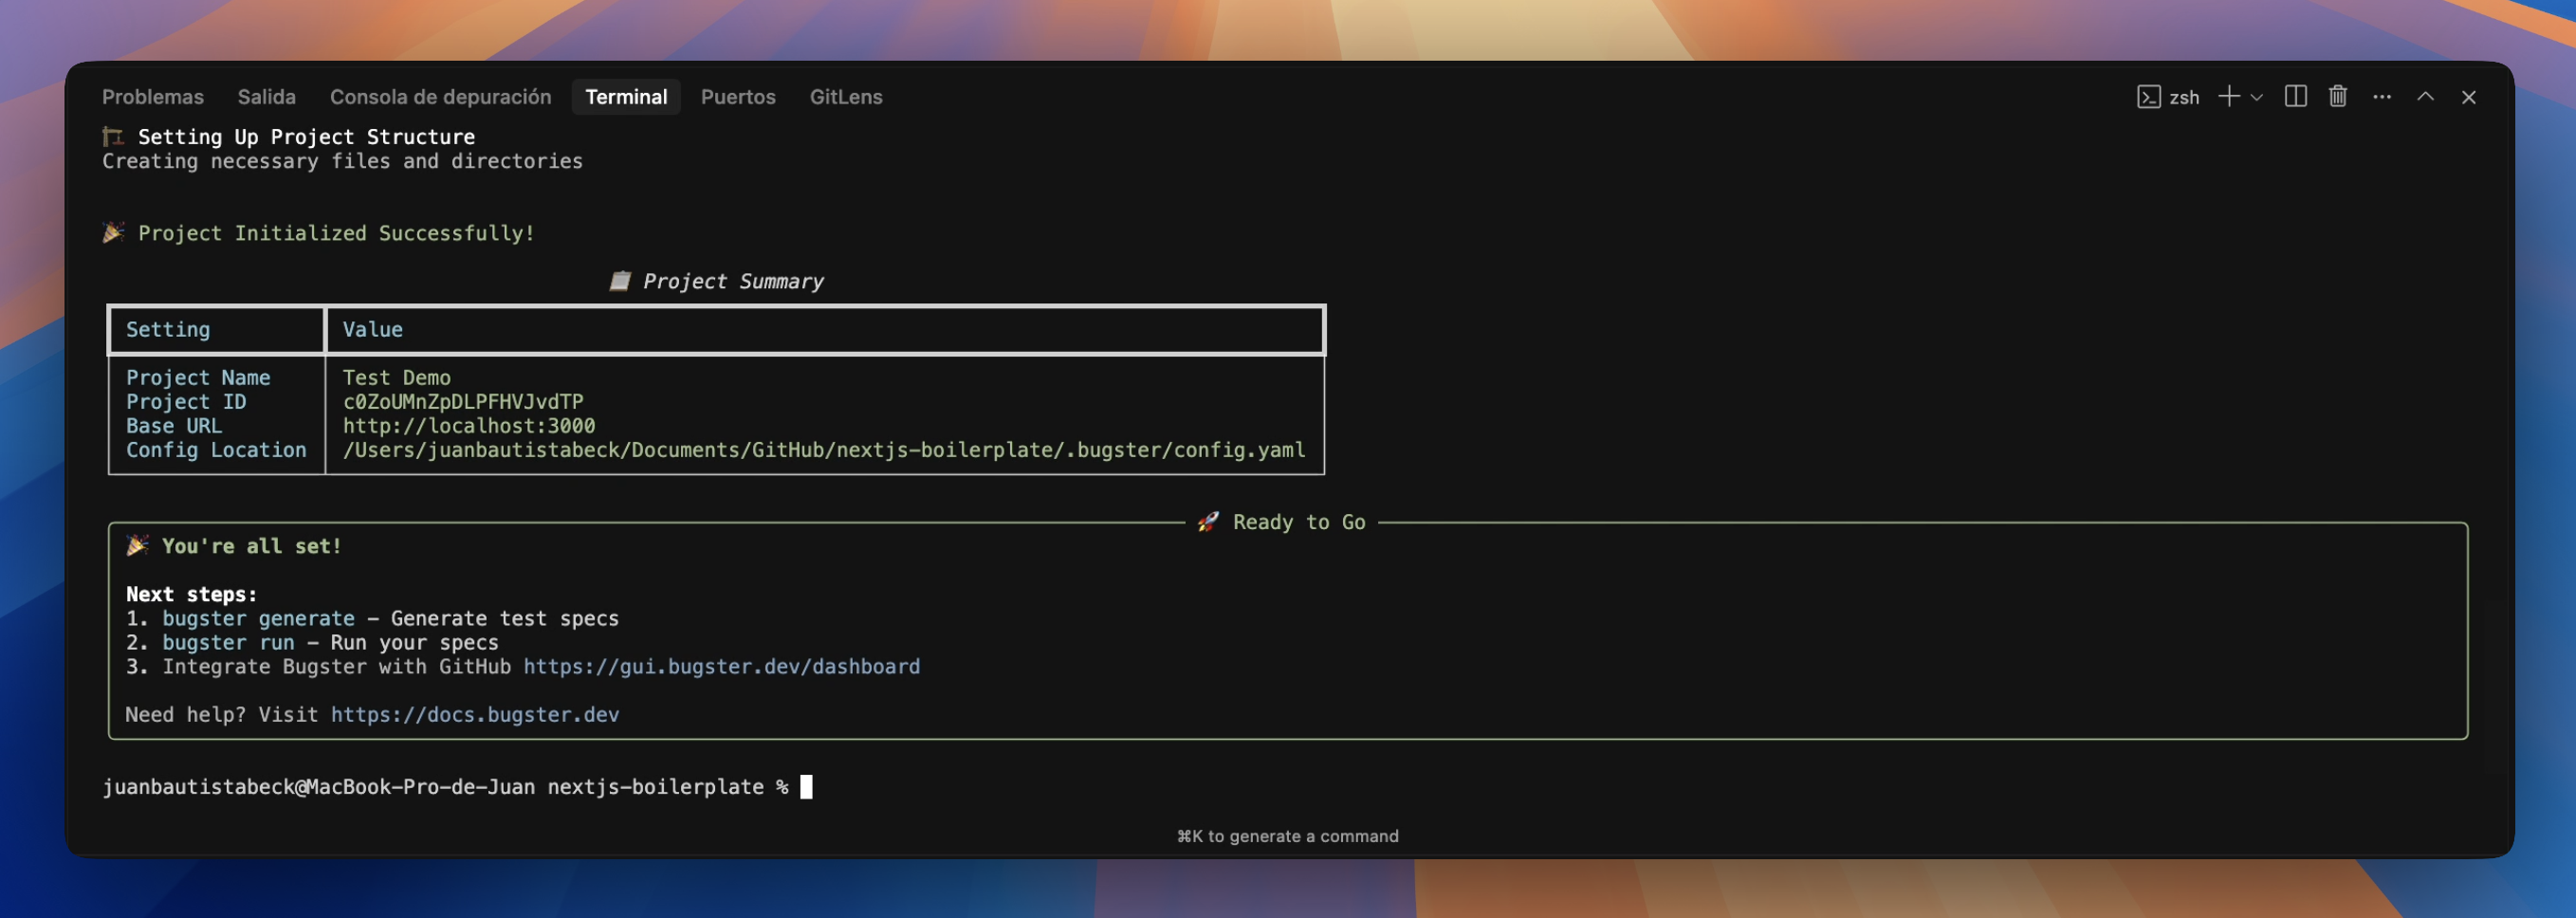
Project Structure Created
Bugster will create the following structure:
your-project/
├── .bugster/
│   ├── config.yaml
│   └── tests/          # Test cases will be generated here
├── .gitignore          # Updated with Bugster entries
You'll see a success message with project summary:
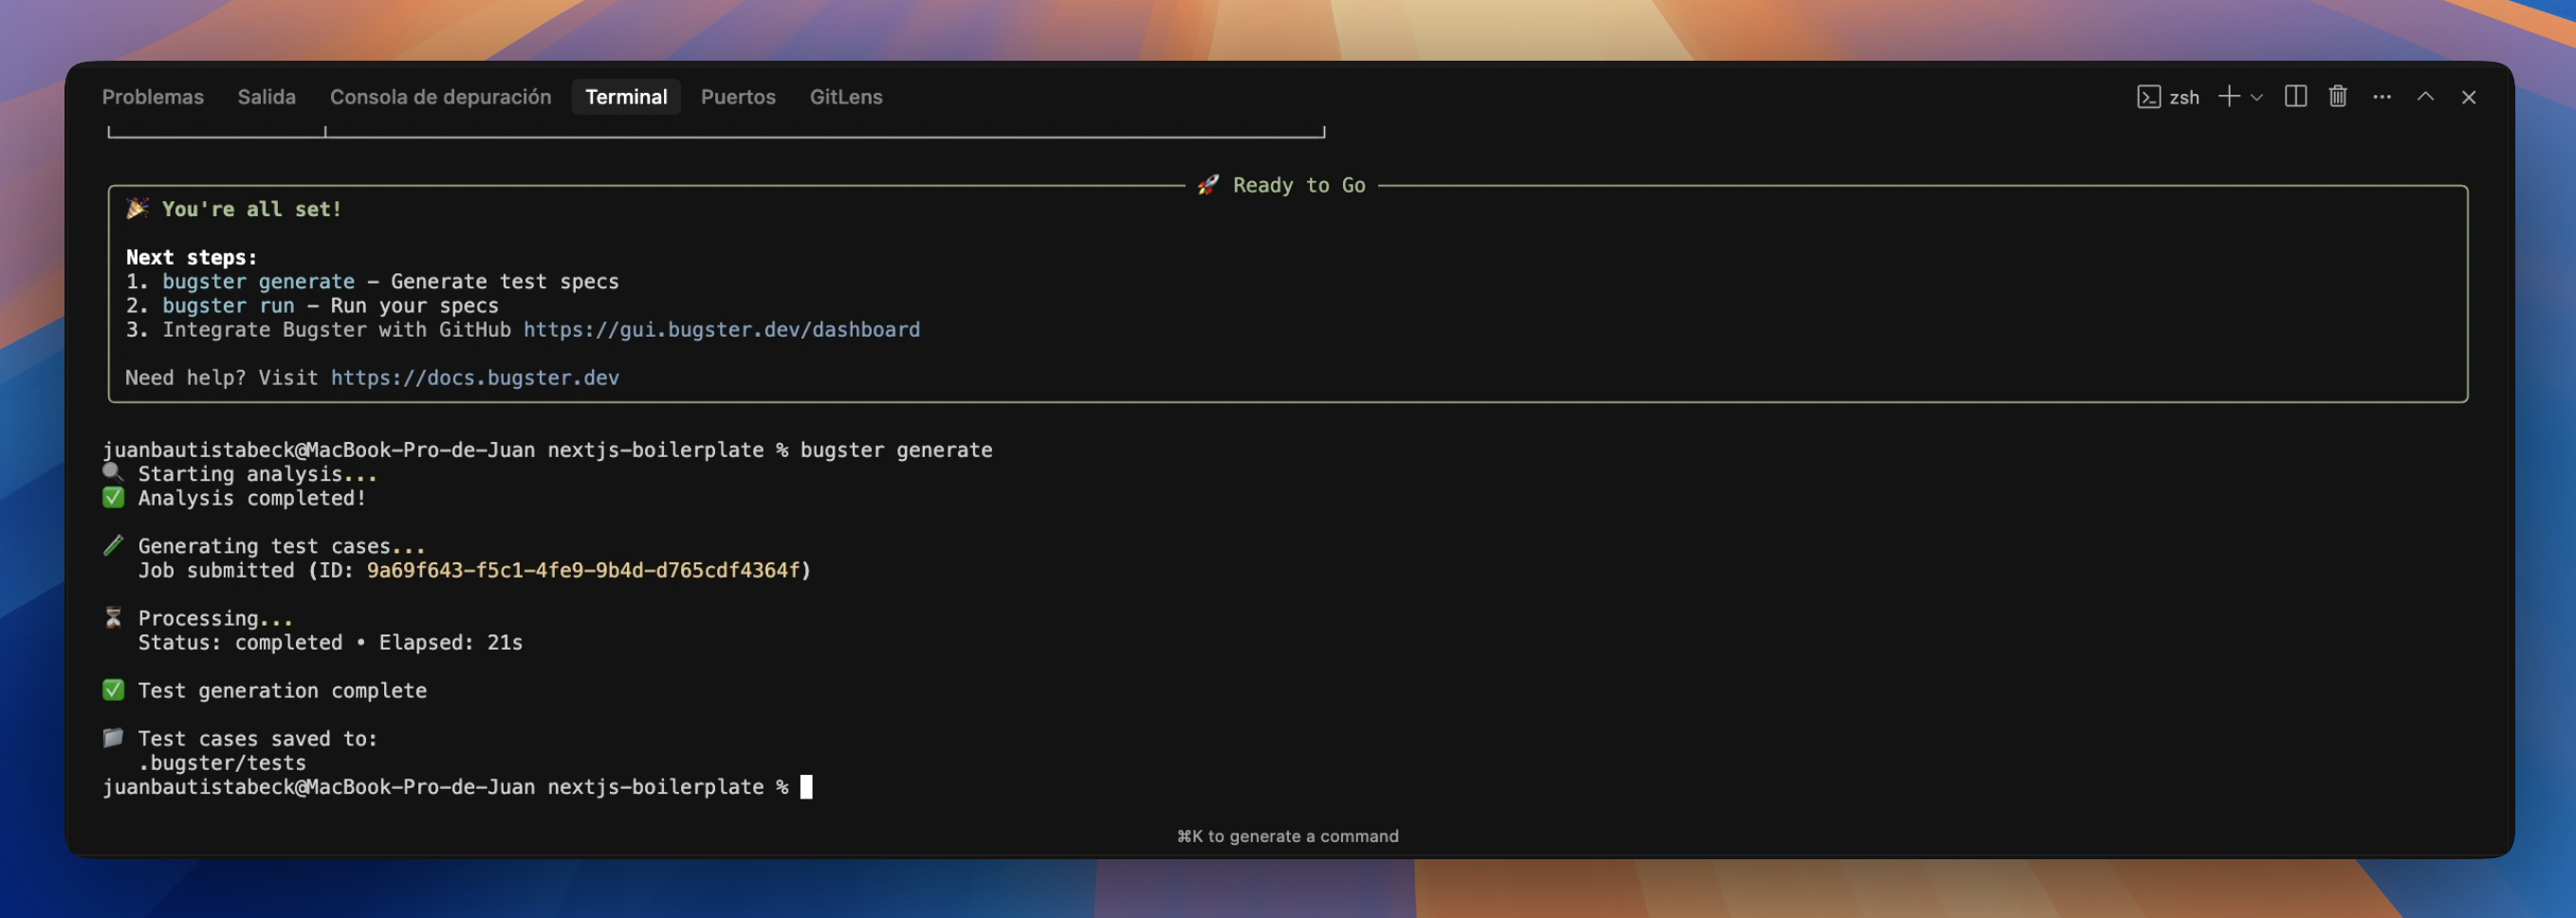
Step 3: Generate AI-Powered Test Cases
Now comes the exciting part! Bugster will analyze your Next.js application and automatically generate comprehensive test cases.
bugster generate
Analysis Process
Bugster will start by analyzing your codebase:
🔍 Starting analysis...
✅ Analysis completed!
Test Generation
After analysis, Bugster generates test cases using AI:
🧪 Generating test cases...
   Job submitted (ID: 064d7b53-5324-4aca-9395-1bbe6249111a)

⏳ Processing...
   Status: pending • Elapsed: 15s
   Status: running • Elapsed: 30s
   Status: completed • Elapsed: 41s

✅ Test generation complete
📁 Test cases saved to:
   .bugster/tests
Generated Test Structure
Bugster analyzes your Next.js app structure and creates test files organized by page/component:
.bugster/tests/
├── home/
│   └── 1_homepage_navigation_and_content.yaml
├── products/
│   ├── 1_product_listing_page.yaml
│   └── 2_product_detail_page.yaml
├── auth/
│   ├── 1_user_login_flow.yaml
│   └── 2_user_registration.yaml
└── checkout/
    └── 1_checkout_process.yaml
Example Generated Test
Here's what a generated test looks like:
# @META:{"id":"test-id","last_modified":"2024-03-20T10:00:00+00:00"}
- name: Homepage Navigation and Content Verification
  page: Home
  page_path: /
  task: Verify that the homepage displays correctly with proper navigation and content
  steps:
    - Navigate to the homepage
    - Verify the main navigation menu is visible
    - Check that the hero section displays properly
    - Ensure product categories are shown
    - Verify footer links are present
  expected_result: Homepage loads successfully with all key elements visible and functional
Step 4: Running Your First Tests
With test cases generated, you can now run them locally. Bugster offers several ways to execute tests:
Run All Tests (Random Selection)
By default, Bugster runs up to 5 tests randomly selected from your test suite:
bugster run
This will:
- Open a Chrome browser
- Execute the selected tests
- Provide detailed results
Run a Specific Test
To run a specific test file:
bugster run .bugster/tests/home/1_homepage_navigation_and_content.yaml
Run Only Affected Tests
If you've made code changes and want to test only the affected parts:
bugster run --only-affected
This intelligent feature analyzes your recent code changes and runs only the tests related to modified components.
Test Execution Process
During test execution, you'll see:
- Connection Status: Bugster connects to the testing agent
[homepage_navigation] Connecting to Bugster Agent...
[homepage_navigation] Connected successfully!
[homepage_navigation] Starting test execution
- Step-by-Step Progress: Real-time updates as each test step executes
[homepage_navigation] Navigate to the homepage
[homepage_navigation] Verify the main navigation menu is visible
[homepage_navigation] Check that the hero section displays properly
- Test Results: Final outcome with timing information
[homepage_navigation] Test completed: pass (Time: 12.34s)
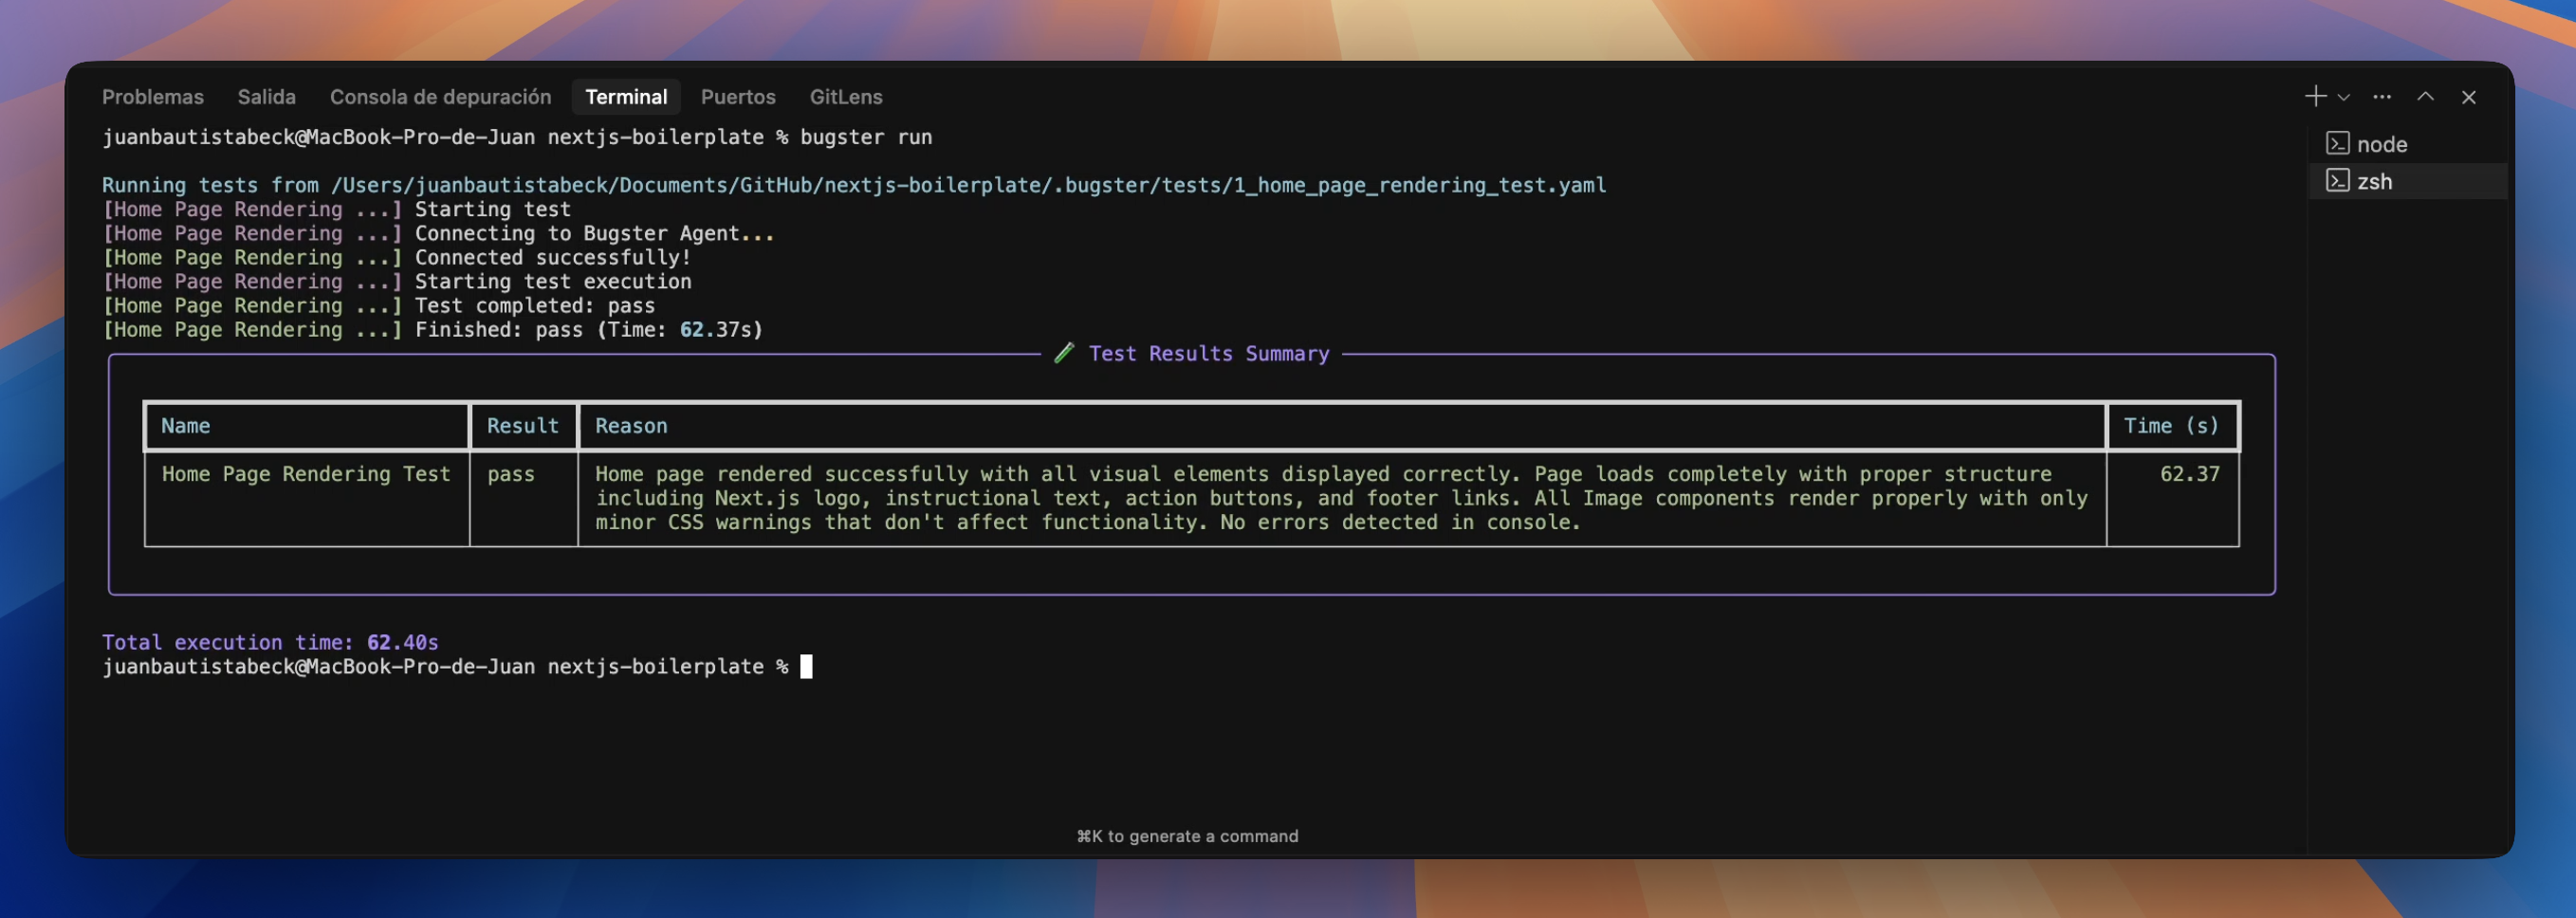
Test Results Summary
After all tests complete, you'll see a comprehensive results table:
Test Results Summary
┌──────────────────────────────────────┬────────┬─────────────────────────────────┬──────────┐
│ Name                                 │ Result │ Reason                          │ Time (s) │
├──────────────────────────────────────┼────────┼─────────────────────────────────┼──────────┤
│ Homepage Navigation and Content      │ pass   │ All elements verified correctly │ 12.34    │
│ Product Listing Page                 │ pass   │ Products loaded successfully    │ 8.76     │
│ User Login Flow                      │ fail   │ Login button not clickable      │ 15.22    │
└──────────────────────────────────────┴────────┴─────────────────────────────────┴──────────┘

Total execution time: 36.32s
Understanding Test Results
Successful Tests
- Status:
pass - Reason: Describes what was verified successfully
- Action: No action needed, the feature is working correctly
Failed Tests
- Status:
fail - Reason: Specific details about what went wrong
- Action: Review the failing element/functionality in your application
Test Videos
Bugster automatically records videos of test execution for debugging:
.bugster/
├── videos/
    └── run-id/
        └── test-id/
            └── test__homepage_navigation.webm
Step 5: Updating Tests When Your App Changes
As you continue developing your application and add new features, pages, or components, you'll want to keep your test suite up to date. Bugster makes this easy with the update command.
When to Use bugster update
Run bugster update whenever you:
- Add new pages or components to your application
- Modify existing functionality that might need new test coverage
- Want to refresh your test suite to match your current codebase
Running the Update Command
bugster update
This command will:
- Analyze code changes - Detect what files have been modified, added, or deleted
- Update existing specs - Refresh tests for modified components
- Suggest new specs - Recommend new tests for newly added features
- Clean up obsolete tests - Remove tests for deleted components
Example Update Output
Here's what you'll see when Bugster detects changes in your application:
✓ Analyzing code changes...
✓ Found 1 modified files
✓ Found 1 added files
✓ Found 0 deleted files

📝 Updated: 1_home_page_rendering_test.yaml updated
➕ Suggested new spec: app/dashboard/page.tsx
➕ Suggested new spec: app/page.tsx
⚠️  Suggested new spec: app/dashboard/page.tsx
⚠️  Suggested new spec: app/page.tsx

✓ Updated 1 spec
As you can see in this example:
- 1 existing test was updated to reflect changes in the home page
- 2 new specs were suggested for the newly added dashboard page and updated main page
Keeping Tests Current
The update command ensures your test coverage grows with your application. It's intelligent enough to:
- Detect which parts of your app have changed
- Update only the relevant test cases
- Suggest new tests for new functionality
- Maintain the quality and relevance of your test suite

Next Steps and Advanced Features
Congratulations! You've successfully set up Bugster CLI and run your first AI-powered tests. Here are some next steps to explore:
CI/CD Integration
- GitHub Actions: Integrate Bugster into your CI/CD pipeline
- Documentation: View CI/CD integration guides
Troubleshooting
Common Issues
Installation Problems
- Ensure you have sufficient permissions (run as administrator on Windows)
Test Generation Issues
- Verify your Next.js project structure is standard
- Ensure your application is properly configured
Test Execution Failures
- Make sure your application is running on the configured URL
- Check that login credentials are correct
Getting Help
- Documentation: Complete CLI reference
- Community: Join our Discord
- Support: Contact our team
Conclusion
You've now experienced the power of AI-driven testing with Bugster CLI! From a simple installation command to running comprehensive tests that simulate real user behavior, Bugster helps you catch bugs before they reach production.
The AI-generated tests provide excellent coverage of your application's critical user flows, and the detailed results help you quickly identify and fix issues. As you continue developing, Bugster's intelligent test generation and execution will scale with your application, ensuring robust testing throughout your development lifecycle.
Ready to integrate Bugster into your development workflow? Start by running bugster --help to explore all available commands and features.
Happy testing! 🐛✨